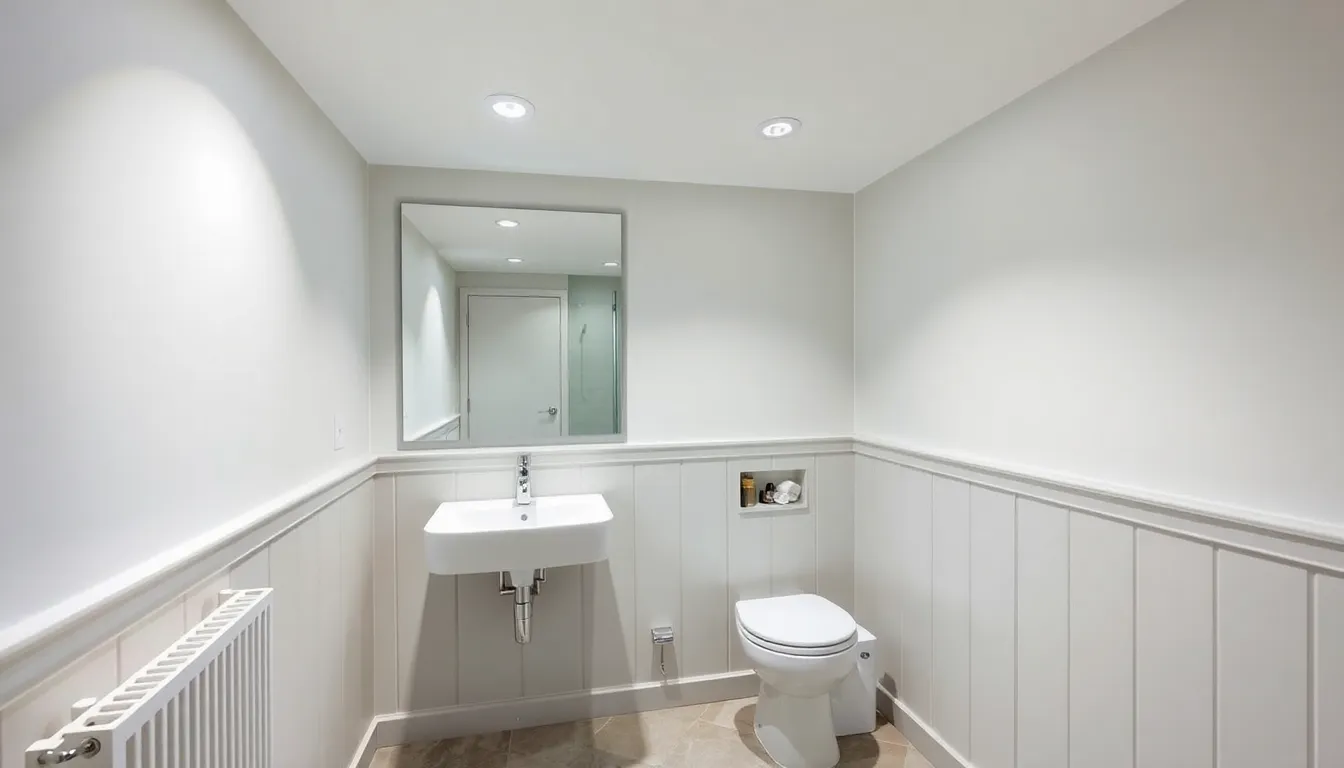
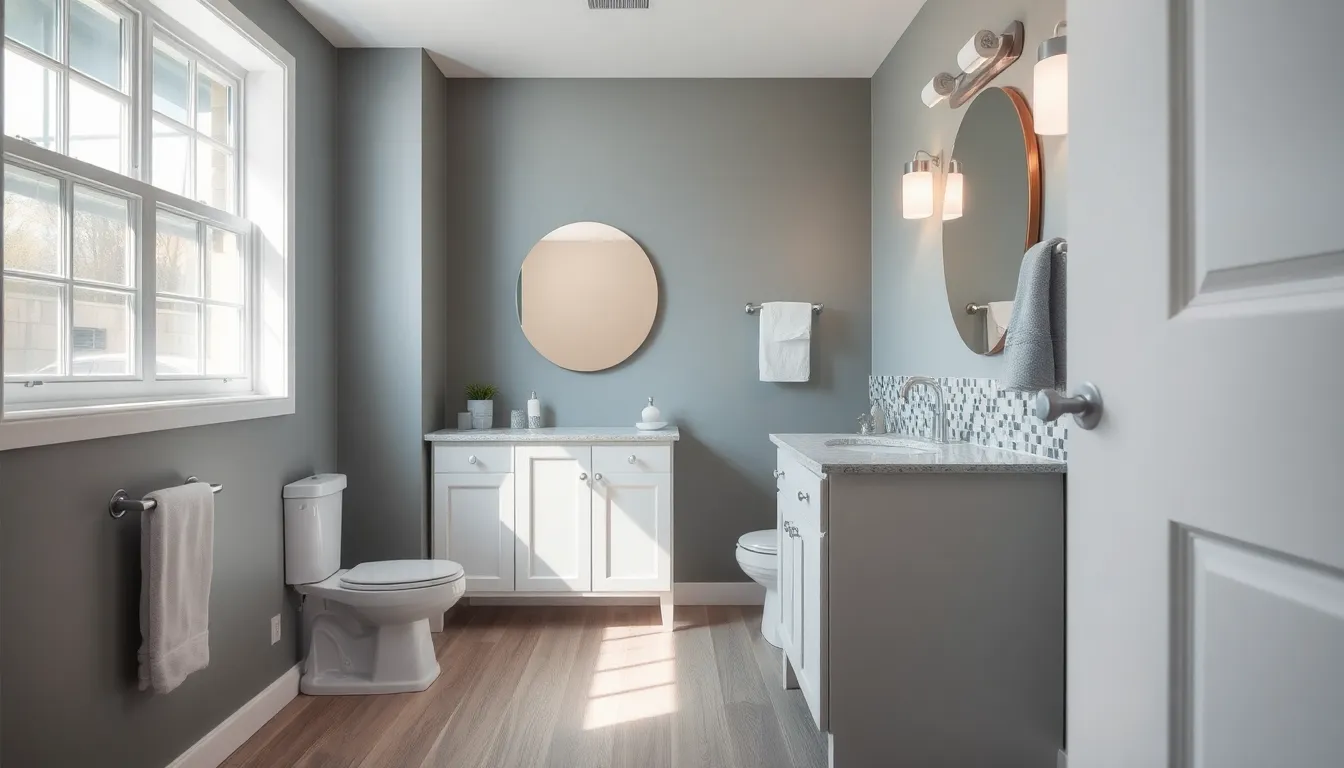
We’ve all been there – staring at that unfinished basement space and wondering how to transform it into something truly functional. Adding a basement bathroom isn’t just about convenience; it’s about unlocking your home’s potential and creating value that pays dividends for years to come.
The possibilities are endless when you’re working with basement bathroom design. Whether you’re dreaming of a sleek powder room for guests or a full spa-like retreat complete with luxury fixtures, we’ll show you how to navigate the unique challenges that come with below-grade installations. From moisture control to maximizing natural light, every detail matters.
Today’s basement bathrooms aren’t the cramped afterthoughts they used to be. With smart design choices and creative answers, we can help you create a space that rivals any upstairs bathroom while working within your basement’s exact constraints and opportunities.
Planning Your Basement Bathroom Layout and Design
Smart planning forms the foundation of every successful basement bathroom project. We’ll guide you through the essential steps to create a layout that maximizes both functionality and style in your below-grade space.
Assessing Available Space and Ceiling Height
Measuring your basement space accurately determines what bathroom features you can realistically include. Most building codes require a minimum ceiling height of 7 feet for habitable spaces, though some areas allow 6 feet 8 inches for basement bathrooms. We recommend checking your local building requirements before finalizing any plans.
Standard basement ceiling heights typically range from 7 to 8 feet, which provides adequate clearance for most fixtures. Exposed beams or ductwork can reduce usable height, so identify these obstacles early in your planning process. You’ll need at least 6 feet of clearance above the toilet area and 6 feet 8 inches above shower spaces in most jurisdictions.
Square footage requirements vary based on your intended bathroom type. Powder rooms need as little as 15 to 20 square feet, while full bathrooms with tubs require 35 to 40 square feet minimum. We suggest measuring twice and marking the proposed bathroom area with tape to visualize the space before committing to exact fixtures.
Determining Plumbing and Electrical Requirements
Existing plumbing lines in your basement significantly impact your bathroom’s location and installation costs. Main sewer lines typically run along exterior walls or through the center of the house, making these areas ideal for bathroom placement. We recommend hiring a licensed plumber to assess your current system’s capacity and determine connection points.
Sewage ejector pumps become necessary when your basement floor sits below the main sewer line level. These systems cost between $800 to $1,500 installed and require a dedicated electrical circuit. Gravity-fed drainage works best when possible, but isn’t always feasible in below-grade installations.
Electrical requirements include dedicated 20-amp GFCI circuits for bathroom outlets and ventilation fans. Most basement bathrooms need at least two circuits: one for outlets and one for lighting and ventilation. We always recommend consulting with a licensed electrician to ensure proper installation and code compliance.
Creating a Functional Floor Plan
Fixture placement in basement bathrooms requires careful consideration of both comfort and building codes. Toilets need 15 inches of clearance from centerline to any wall or fixture, while sinks require 4 inches minimum from walls. We suggest allowing 21 inches in front of toilets and 30 inches in front of sinks for comfortable use.
Traffic flow patterns should allow easy movement between fixtures without creating cramped conditions. Door swings need adequate clearance, typically 32 to 36 inches, and shouldn’t interfere with fixture use. We recommend sketching multiple layout options before selecting your final design.
Storage answers become crucial in smaller basement bathroom layouts. Built-in niches, wall-mounted cabinets, and over-toilet storage maximize space efficiency. We often incorporate these elements into the initial floor plan rather than adding them as afterthoughts.
Choosing the Right Flooring for Your Basement Bathroom
Selecting the right flooring for your basement bathroom is essential since moisture levels below grade can damage traditional materials. We’ll explore the best water-resistant options that combine durability with style.
Waterproof Vinyl and Luxury Vinyl Plank Options
Waterproof vinyl flooring stands out as our top recommendation for basement bathrooms due to its exceptional water resistance and durability. This popular choice comes in various designs that mimic natural materials like wood or stone, giving you aesthetic flexibility without compromising performance.
Luxury vinyl plank (LVP) offers similar moisture resistance benefits while providing a more natural appearance than standard vinyl. Installation proves easier compared to ceramic tiles, making it an attractive DIY option. These planks lock together seamlessly, creating a watertight surface that handles basement humidity with ease.
Both options resist water damage effectively, maintain their appearance over time, and provide comfortable underfoot warmth that concrete floors lack.
Ceramic and Porcelain Tile Answers
Ceramic tile delivers an impervious surface that’s ideal for high-moisture bathroom environments. This waterproof material provides both functionality and style, offering endless design possibilities through various colors, patterns, and sizes.
Porcelain tile shares ceramic’s excellent water resistance while offering enhanced durability for heavy foot traffic areas. Both materials create stylish aesthetics that can transform your basement bathroom into an elegant space. Professional installation ensures proper waterproofing, though DIY installation is possible with the right preparation.
These tile answers provide long-term value through their resistance to stains, scratches, and moisture damage.
Epoxy and Polished Concrete Alternatives
Epoxy flooring creates a durable, completely waterproof surface over existing concrete floors. This modern option requires minimal maintenance while offering a sleek, contemporary appearance that complements industrial-style bathroom designs.
Polished concrete delivers an industrial aesthetic but requires proper sealing to prevent water damage. Once sealed, it becomes a viable option that’s both cost-effective and visually striking. This alternative works particularly well in modern basement bathroom designs where the industrial look is desired.
Both concrete-based options provide excellent durability and can handle the moisture challenges inherent in basement environments when properly installed and maintained.
Selecting Space-Saving Fixtures and Features
Maximizing every square foot becomes essential when designing a basement bathroom. Smart fixture selection transforms cramped spaces into functional retreats that rival upstairs bathrooms.
Compact Toilets and Corner Sink Designs
Compact toilets offer the perfect solution for tight basement spaces while maintaining full functionality. Wall-hung designs eliminate floor contact and create the illusion of more space by exposing additional floor area. Shorter tank models reduce the overall footprint without sacrificing performance.
Corner sinks capitalize on underutilized angles that would otherwise go unused. These strategic placements free up valuable walking space around toilets and shower areas. Triangular basin designs fit snugly into corners while providing adequate washing space for daily routines.
Positioning corner sinks allows for improved traffic flow throughout the bathroom. We’ve found that this arrangement creates more room for movement while maintaining easy access to all fixtures.
Walk-In Showers vs. Shower-Tub Combos
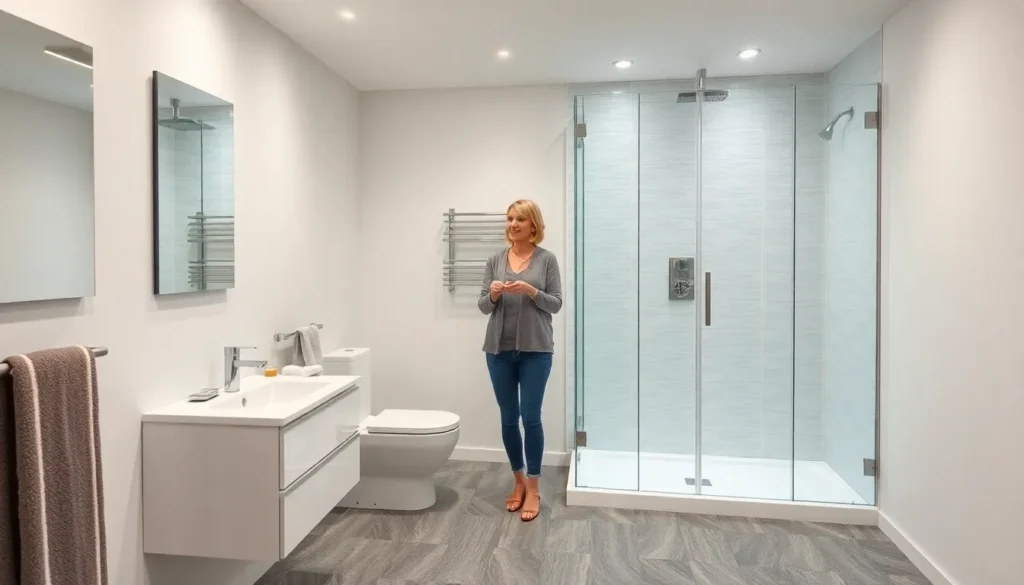
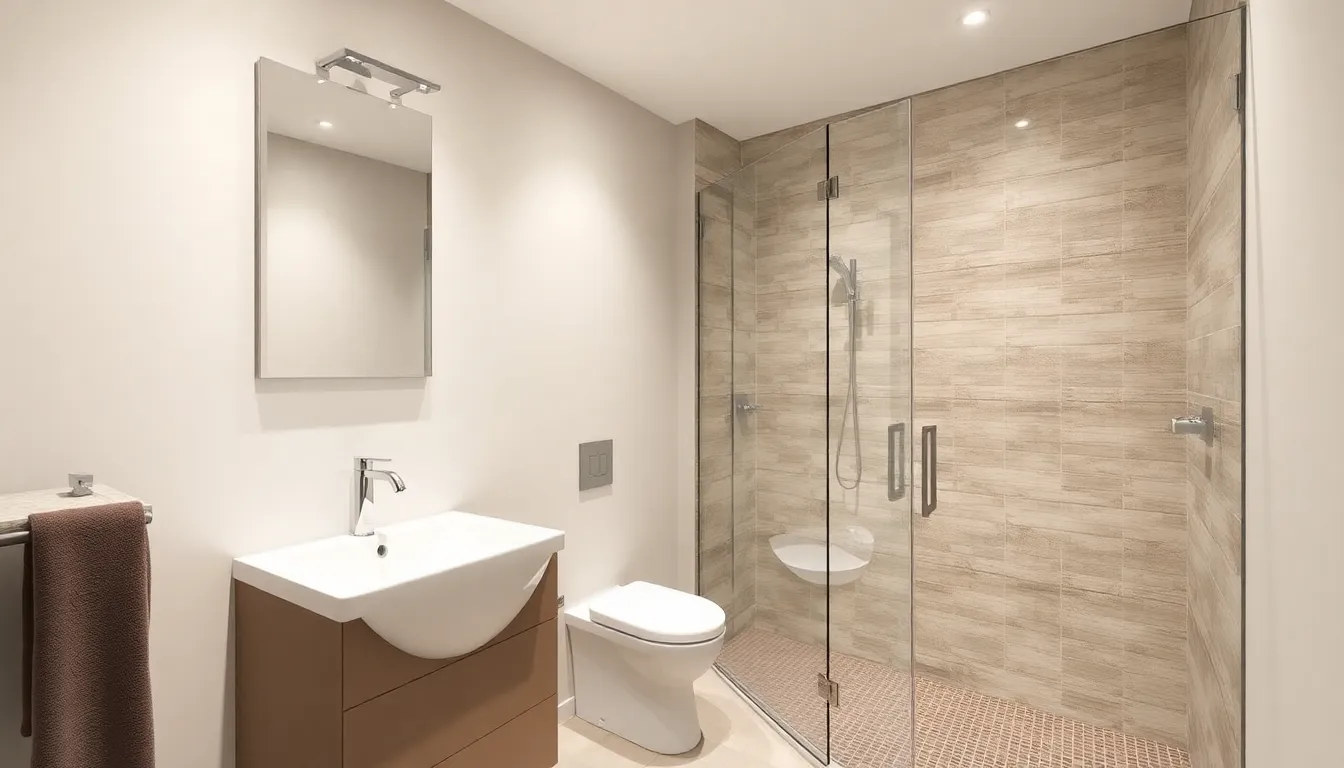
Walk-in showers equipped with frameless glass panels create visual continuity that makes spaces appear larger. This streamlined design eliminates the bulk associated with traditional enclosures and tub surrounds. Modern walk-in configurations work especially well in small basement areas where every inch counts.
Shower-tub combinations provide versatility for families needing both bathing and showering options. Traditional setups require significantly more floor space and can make compact bathrooms feel cramped. These installations work best when basement square footage allows for generous clearances.
Frameless glass installations reflect light throughout the space and maintain sightlines that enhance perceived room size. We recommend this approach for homeowners prioritizing the illusion of spaciousness over bathing versatility.
Wall-Mounted Vanities and Storage Answers
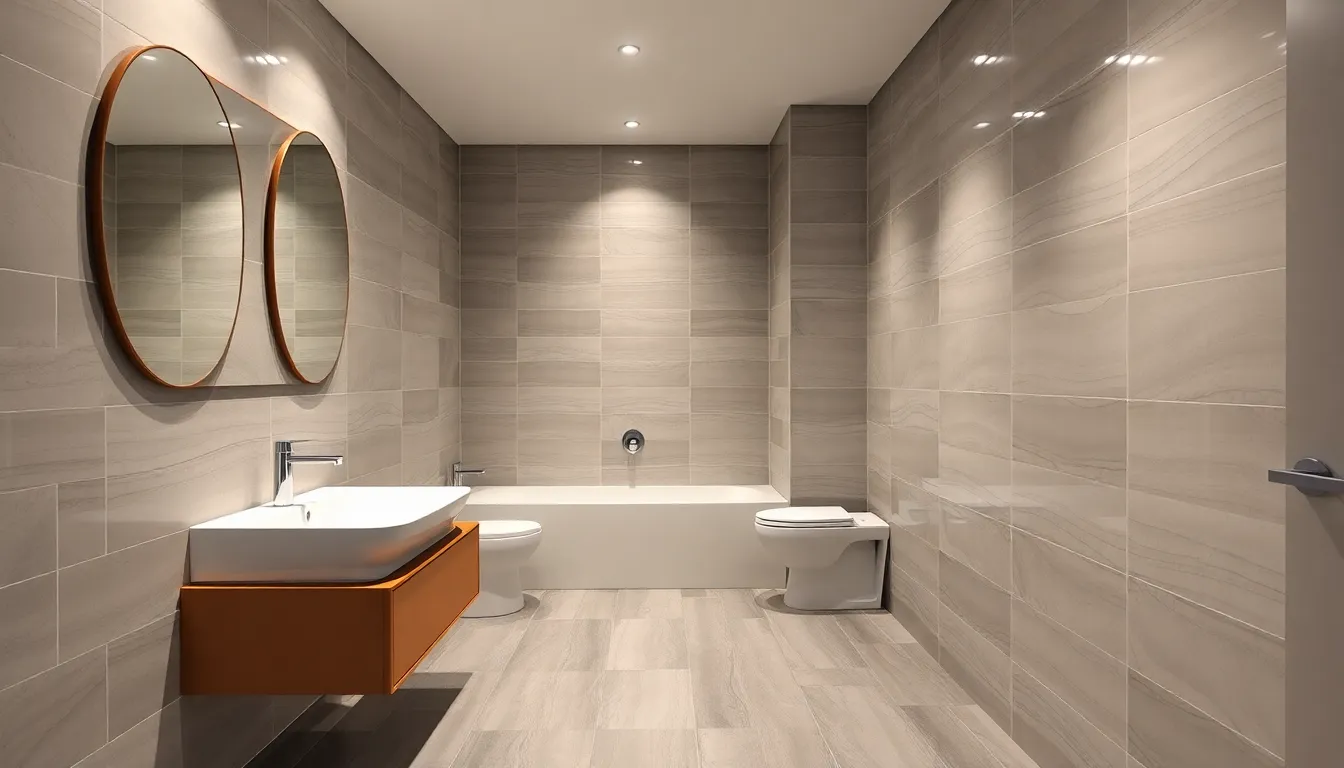
Wall-mounted vanities expose more floor area and create an airy atmosphere in confined spaces. These floating designs come in various sizes and materials including wood and engineered options to match different aesthetic preferences. Installation height can be customized for optimal user comfort and accessibility.
Integrated storage answers maximize organization without consuming valuable floor space. Built-in niches provide convenient storage for toiletries and bathroom essentials. Mirrored cabinets serve dual purposes by offering both reflection and concealed storage.
Shelving systems built into wall cavities eliminate the need for freestanding storage units. We recommend incorporating these features during the planning phase to ensure proper structural support and seamless integration with your basement bathroom design.
Maximizing Natural and Artificial Lighting
Proper lighting transforms a basement bathroom from a dim afterthought into a bright and welcoming space. We’ll explore strategic lighting answers that make your below grade bathroom feel as luminous as any upstairs room.
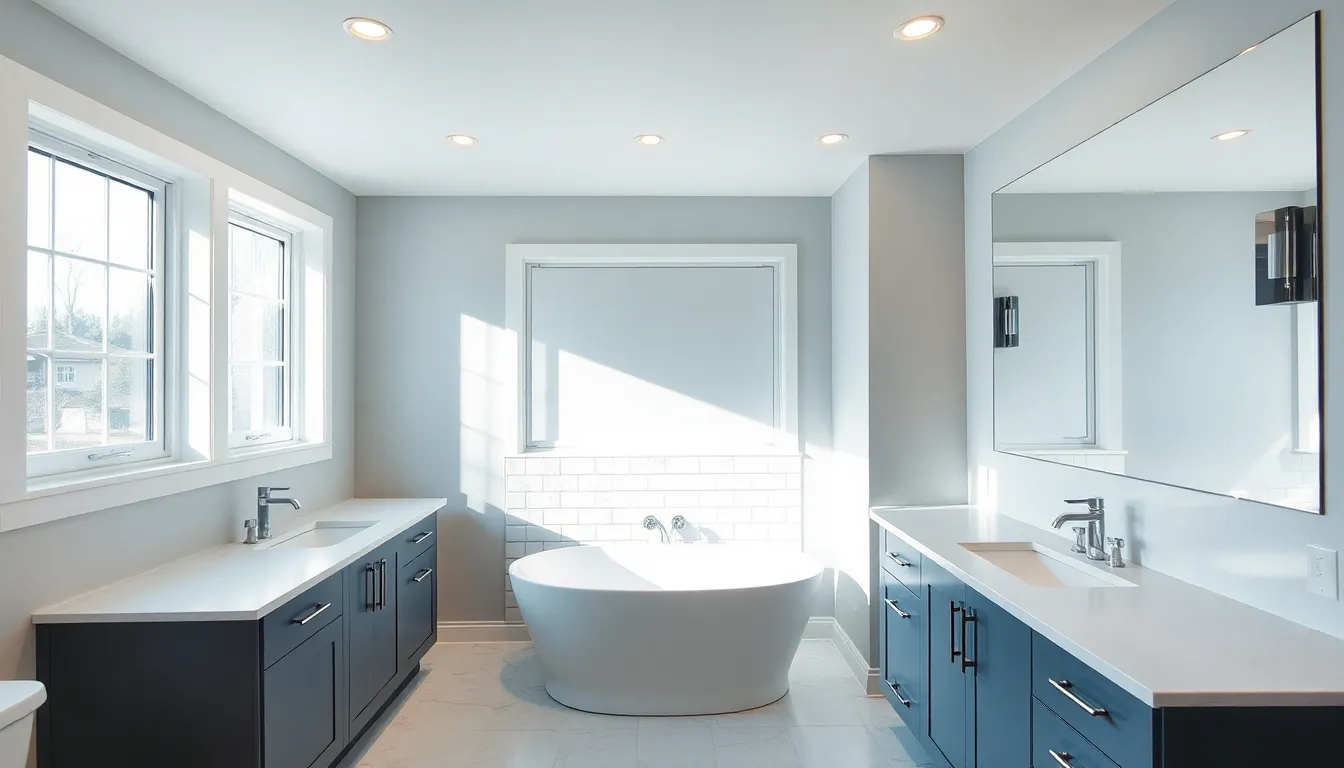
Installing Egress Windows for Natural Light
Egress windows create the most dramatic lighting improvement for basement bathrooms while adding essential safety features. Installing these larger windows allows abundant natural light to flood the space, instantly improving the overall brightness and ambiance. These windows serve a dual purpose by providing an emergency exit route, which improves safety and often satisfies building code requirements for basement living spaces.
Window placement strategy matters significantly when maximizing natural light benefits. We recommend positioning egress windows on the wall opposite your main fixtures to create cross illumination throughout the bathroom. Natural light from properly sized egress windows can reduce your dependence on artificial lighting during daytime hours, creating a more pleasant and energy efficient environment.
LED Recessed Lighting and Vanity Illumination
LED recessed lights deliver efficient and effective illumination without creating visual clutter on your basement bathroom ceiling. These fixtures provide even lighting distribution throughout the space, making compact bathrooms feel considerably larger than their actual square footage. Recessed lighting works especially well in basements where ceiling height might be limited, as they don’t extend downward like traditional fixtures.
Vanity illumination requires targeted lighting answers to ensure proper visibility for daily grooming tasks. Installing vanity lights or sconces near mirrors helps eliminate shadows and provides the focused illumination needed for activities like shaving or applying makeup. We suggest placing these fixtures at eye level on either side of the mirror rather than above it to minimize unflattering shadows on your face.
Light-Colored Paint and Mirror Placement Strategies
Light colored paint transforms dark basement spaces by reflecting available light and creating the illusion of increased square footage. Using light colored paint on both walls and ceilings helps bounce natural and artificial light throughout the room, making your basement bathroom appear brighter and more spacious. Whites, soft grays, and pale neutrals work particularly well in below grade environments.
Strategic mirror placement amplifies your lighting efforts by reflecting both natural light from windows and artificial light from fixtures. Large mirrors positioned opposite windows can effectively double the perceived natural light in your space. We recommend using a slim mirror with an integrated light fixture to combine reflection benefits with additional illumination, creating a focal point that serves multiple lighting purposes.
Creating Effective Ventilation and Moisture Control
Moisture control stands as the most critical challenge we face when designing basement bathrooms. Without proper ventilation systems, these below-grade spaces quickly become breeding grounds for mold and structural damage.
Exhaust Fan Installation and Sizing
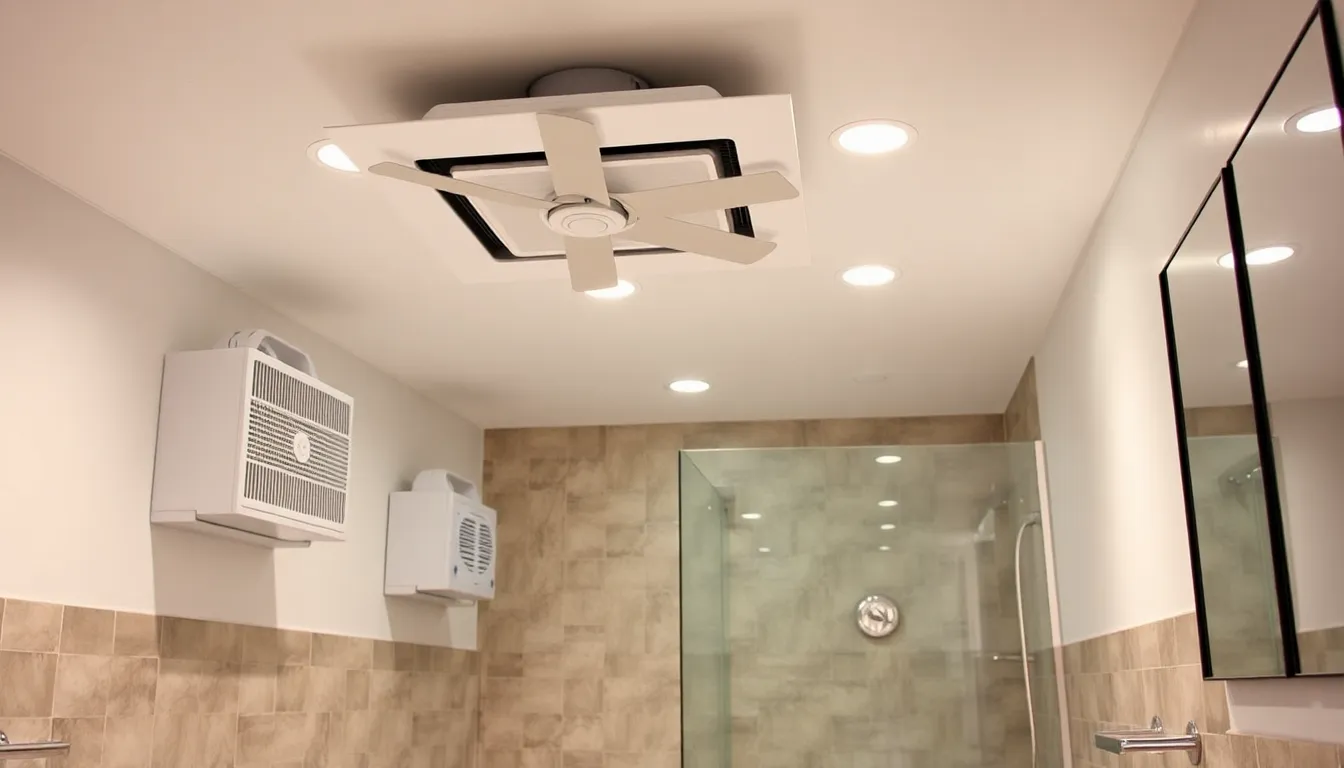
Sizing your exhaust fan correctly ensures optimal moisture removal for your basement bathroom space. We recommend selecting a fan capable of exchanging bathroom air 8-10 times per hour, which means calculating your room’s cubic footage and multiplying by the exchange rate. Bathrooms with showers or bathtubs require more powerful ventilation than simple powder rooms.
Installing the exhaust fan requires careful planning since basement locations often involve cutting through concrete or existing drywall. We must connect the fan to a vent cap equipped with a damper that opens during operation and closes when not in use, preventing backdrafts from entering your space. Ductless bathroom fans work well for toilet-only areas without showers, offering easier installation without exterior venting requirements.
Proper vent placement maximizes moisture extraction by positioning the fan near the shower or bathtub area where steam concentration reaches its peak. We should ensure the ductwork runs the shortest possible distance to the exterior, minimizing potential condensation buildup within the ducts themselves.
Dehumidification Systems and Air Circulation
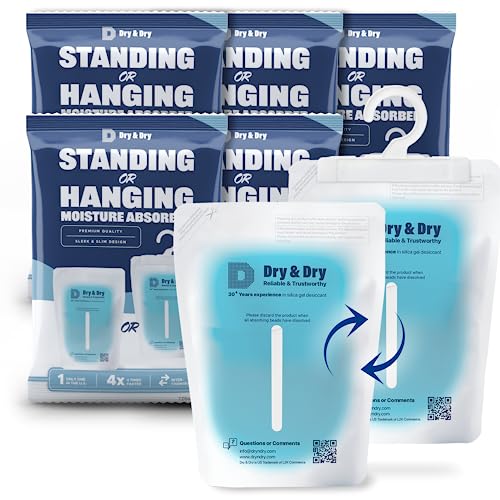
Dehumidifiers complement exhaust fans by continuously removing excess moisture from the air, especially important in humid climates where natural evaporation rates decrease. We recommend choosing units sized appropriately for your basement bathroom square footage, typically requiring 30-50 pint capacity for most residential spaces.
Air circulation systems maintain consistent airflow throughout your basement bathroom by connecting it to your home’s overall HVAC system. We can install return air ducts that draw moisture-laden air away from the bathroom while supplying fresh, conditioned air from other areas. Ceiling fans or wall-mounted circulation fans provide additional air movement when central systems aren’t feasible.
Strategic ventilation timing involves running exhaust fans during and after shower use, typically for 30 minutes post-shower to ensure complete moisture removal. We should consider installing timer switches or humidity sensors that automatically activate ventilation systems when moisture levels exceed safe thresholds.
Waterproofing Walls and Preventing Mold Growth
Waterproof coatings on walls create essential barriers preventing moisture penetration into your basement’s structural elements. We must apply these protective coatings to all bathroom surfaces, paying special attention to areas around plumbing fixtures and corners where water accumulation commonly occurs.
Regular moisture inspections help us identify potential problems before they become costly repairs or health hazards. We should check for condensation on walls, musty odors, or visible water stains monthly, addressing any issues immediately through improved ventilation or additional waterproofing measures.
Mold prevention strategies include maintaining indoor humidity levels below 50% and ensuring proper surface drainage away from walls and fixtures. We recommend using mold-resistant materials like cement backer board instead of drywall in high-moisture areas, providing long-term protection against fungal growth.
Vapor barriers behind wall finishes prevent moisture migration from the basement’s exterior walls into your bathroom space. We should install these barriers properly, sealing all seams and penetrations to maintain their effectiveness over time.
Adding Style with Color Schemes and Decorative Elements
Creating visual appeal in basement bathrooms requires thoughtful color selection and strategic decorative choices. We’ll explore how the right combination of colors and elements can transform your below-grade space into a stylish retreat.
Bright and Neutral Color Palettes
Neutral backgrounds form the foundation of successful basement bathroom design. White or pale neutral tiles create a cohesive and bright environment that counteracts the naturally darker atmosphere of below-grade spaces. These light foundations make rooms feel larger and more welcoming.
Accent colors inject personality without overwhelming the space. Adding pops of turquoise blue or other vibrant hues creates visual interest while maintaining the bright, airy feel. We recommend limiting accent colors to 20-30% of your overall palette to maintain balance.
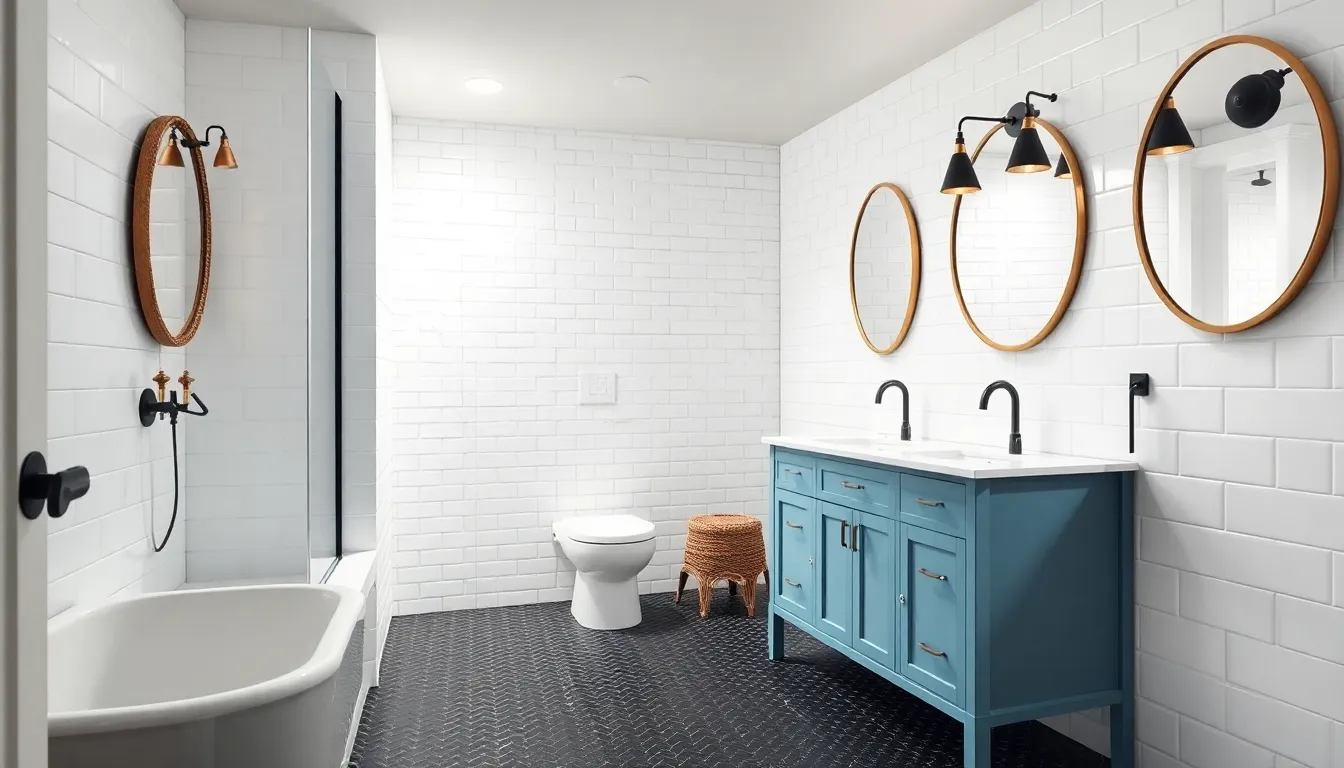
Contemporary approaches combine simplicity with strategic color placement. Simple finishes paired with carefully chosen color accents deliver maximum impact. Black hex tiles with white walls and an ice blue vanity exemplify this modern approach, creating depth while preserving brightness.
Accent Walls and Tile Patterns
Marble slabs elevate the entire aesthetic when combined with neutral tiles. This pairing creates an elevated modern look that feels luxurious without overwhelming smaller spaces. The natural veining in marble adds organic texture that prevents neutral palettes from feeling flat.
Graphic floor tiles draw attention and energize the space. Bold patterns on floors create focal points that guide the eye and add visual movement. These statement tiles work particularly well in basement bathrooms where you want to distract from lower ceilings.
Feature walls provide opportunities for creative expression. Incorporating black and white wallpaper with nautical themes or other distinctive patterns adds unique character. We suggest limiting patterned elements to one wall to avoid visual chaos in compact spaces.
Decorative Hardware and Bathroom Accessories
Mixed metal finishes create sophisticated designer looks. Combining antique brass sconces with modern matte black fixtures adds visual depth and prevents spaces from feeling too matchy. This approach works especially well when you want to blend traditional and contemporary elements.
Strategic lighting placement compensates for limited natural light. Doubling up on lighting with ceiling fixtures and dedicated vanity illumination ensures adequate brightness throughout the space. Multiple light sources also create layered ambiance that enhances the overall atmosphere.
Decorative mirrors and wall accessories enhance spatial perception. These elements not only serve functional purposes but also reflect available light to brighten the room. Wall mounted accessories maintain clean lines while adding personality without consuming valuable floor space.
Incorporating Smart Storage Solutions
Smart storage transforms cramped basement bathrooms into organized, functional spaces that maximize every available inch. We’ll explore three key strategies that create efficient storage while maintaining the clean aesthetic you’ve established with your lighting and color choices.
Built-In Shelving and Recessed Niches
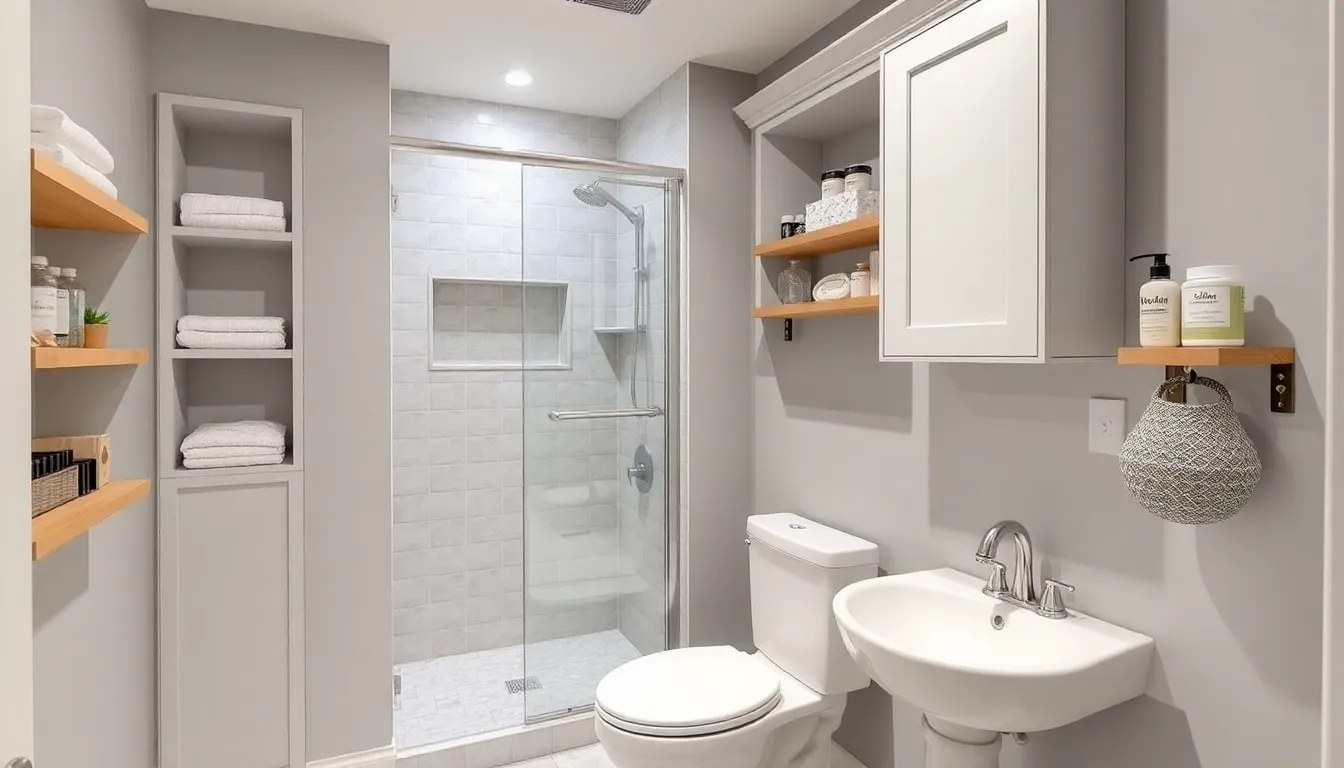
Built-in shelving units integrate seamlessly into your basement bathroom walls, providing dedicated space for toiletries and towels without creating visual clutter. Custom shelving maintains the streamlined appearance that complements your bright color palette while offering practical storage answers.
Recessed niches work particularly well in shower areas, creating built-in storage that doesn’t encroach on your limited floor space. These wall cutouts provide convenient access to toiletries while preserving the open feel that’s essential in basement bathrooms. We recommend installing recessed niches at shoulder height for easy access during daily routines.
Floating shelves offer another excellent built-in option that provides easy access to essentials without occupying valuable floor space. These sleek storage answers maintain the airy atmosphere you’ve created with your space-saving fixtures while keeping necessities within arm’s reach.
Over-Toilet Storage Cabinets
Over-toilet cabinets use the often-wasted vertical space above your toilet, creating efficient storage for toiletries and towels. These cabinets keep items organized while freeing up floor space that’s already at a premium in basement bathrooms.
Cabinet designs range from simple open shelving to enclosed units with doors, allowing you to choose options that match your established decor. We suggest selecting cabinets with light finishes that complement your bright color scheme and enhance the sense of openness in your space.
Proper installation ensures these cabinets don’t interfere with your toilet’s functionality while providing maximum storage capacity. Consider cabinets with adjustable shelves to accommodate different sized items and adapt to your changing storage needs.
Multi-Functional Furniture and Organizers
Multi-functional furniture pieces serve double duty in basement bathrooms, combining seating or surface space with hidden storage compartments. Storage benches provide a place to sit while putting on shoes and conceal towels or cleaning supplies inside their hollow bases.
Vanities with built-in storage optimize your bathroom’s footprint by combining sink space with drawer and cabinet storage. These integrated answers eliminate the need for separate storage furniture while maintaining the clean lines that enhance your basement bathroom’s visual appeal.
Organizers like decorative baskets and woven containers store toiletries and linens while adding textural interest to your space. Hooks for hanging items and slide-out drawers keep the bathroom tidy and efficient, supporting the organized atmosphere that makes small spaces feel larger.
Leaning ladders offer an inexpensive and lightweight storage solution that’s perfect for displaying and storing towels. These vertical storage pieces take up minimal floor space while adding height that draws the eye upward, improving the sense of space in your basement bathroom.
Addressing Common Basement Bathroom Challenges
Basement bathroom installations present unique obstacles that require strategic answers to create functional, comfortable spaces. We’ll explore the most common challenges and provide practical approaches to overcome them.
Managing Low Ceiling Heights
Optimize lighting placement to maximize vertical space perception in areas with restricted overhead clearance. Recessed LED fixtures eliminate the need for hanging light elements that consume precious inches, while LED strip lighting creates ambient illumination without visual bulk.
Select appropriately sized fixtures designed specifically for compact spaces to maintain functionality without overwhelming the room. Wall-mounted sinks and toilets offer the dual benefit of saving floor space while creating an illusion of height by exposing more wall surface.
Choose light paint colors on ceilings to reflect available light and push boundaries visually upward. Glossy or semi-gloss finishes enhance this effect by bouncing light throughout the space.
Install mirrors strategically to double the perceived height through reflection while serving practical grooming purposes. Large mirrors positioned opposite light sources amplify both natural and artificial illumination.
Dealing with Concrete Walls and Floors
Apply waterproof tile finishes directly over properly prepared concrete surfaces to create attractive, moisture-resistant barriers. Ceramic and porcelain tiles provide impervious surfaces that protect underlying concrete while offering countless design possibilities.
Install proper waterproofing systems before any decorative treatments to prevent moisture migration through porous concrete. Vapor barriers and sealants create essential protection layers that preserve both structural integrity and aesthetic investments.
Consider decorative concrete options like epoxy coatings or polished finishes that transform industrial surfaces into modern design elements. These treatments provide durable, easy-to-clean surfaces while maintaining the contemporary aesthetic many homeowners desire.
Frame out walls where budget allows to create standard drywall surfaces that accommodate traditional bathroom finishes. This approach opens up broader design possibilities including paint, wallpaper, and standard tile installations.
Working Around Existing Utilities and Ductwork
Map existing systems carefully before finalizing bathroom layouts to avoid costly relocations or conflicts with essential building infrastructure. Professional assessments help identify optimal fixture placement while maintaining access to critical utilities.
Use vertical space creatively by installing storage answers above existing ductwork and utility lines. Custom shelving and cabinets can transform awkward spaces into functional storage areas.
Consider macerating toilet systems for cost-effective plumbing answers that don’t require major pipe relocations. These systems pump waste upward through small-diameter pipes, making installation possible in challenging locations.
Plan strategic enclosures around unavoidable utility elements using decorative panels or built-in storage that conceals while maintaining necessary access. These answers integrate utilities into the overall design rather than treating them as obstacles.
Coordinate with professionals early in the planning process to understand modification possibilities and costs associated with utility relocations. This information helps inform design decisions and budget allocations effectively.
Budget-Friendly Basement Bathroom Ideas
Creating a stunning basement bathroom doesn’t require very costly. We’ll explore strategic approaches that maximize your investment while delivering professional results.
DIY Installation Tips and Cost-Saving Measures
Assess existing infrastructure before starting any project to determine optimal bathroom placement and reduce unexpected expenses. The position of waste pipes and water supply lines directly influences your layout options and can significantly impact overall project costs.
Frame walls yourself using basic carpentry skills to save hundreds on labor costs. Installing subfloor systems like Dricore interlocking blocks provides moisture protection and can be completed over a weekend with minimal tools.
Handle basic electrical work such as installing extractor fans if you’re comfortable with electrical systems. But, we recommend consulting professionals for complex electrical connections to ensure safety and code compliance.
Focus on tasks within your skill level while reserving critical connections for experts. Doing preparation work like demolition, painting, and basic installations can reduce labor costs by 40-60%, but calling professionals for plumbing fixture connections ensures proper installation.
Affordable Fixture and Material Alternatives
Choose laminate or vinyl flooring instead of ceramic tile to achieve similar aesthetics at a fraction of the cost. These materials offer excellent moisture resistance and come in styles that mimic natural stone or hardwood.
Shop for stock vanities rather than custom options to save important money without sacrificing style. Secondhand fixtures from salvage stores or online marketplaces can provide unique character pieces at budget-friendly prices.
Create decorative elements using mosaic tile lettering or simple stenciled designs on floor tiles for personalized touches without high expense. Leftover paint from other home projects can refresh walls or create accent features.
Repurpose existing furniture as vanities by adding plumbing connections and waterproof finishes. This approach creates one-of-a-kind pieces while staying within budget constraints.
Phased Renovation Approaches
Start with essential infrastructure including framing, subfloor installation, and critical electrical and plumbing rough-ins during phase one. This foundation work ensures your bathroom meets code requirements and functions properly.
Focus on finishing surfaces during phase two by installing walls, flooring, and basic fixtures as budget allows. This staged approach prevents overwhelming financial burden while maintaining project momentum.
Add fixtures and decorative elements in subsequent phases to customize your space over time. Spreading costs across multiple phases allows for better quality selections within each budget cycle.
Plan each phase strategically to maintain bathroom functionality if renovating an existing space. This approach reduces financial stress and allows for ongoing customization as your needs and budget evolve.
Conclusion
Creating a basement bathroom represents one of the smartest home improvements we can make. We’ve shown that with proper planning moisture control and thoughtful design choices these spaces can become stunning functional retreats that rival any upstairs bathroom.
The key lies in addressing the unique challenges head-on while embracing creative answers. From waterproof flooring and strategic lighting to space-saving fixtures and smart storage we’ve covered every aspect needed for success.
Whether we’re working with a generous budget or taking a phased DIY approach the potential for transformation is limitless. Our basement bathroom can become a valuable asset that enhances daily living while significantly boosting our home’s overall value and appeal.
Frequently Asked Questions
Can I add a bathroom to my unfinished basement?
Yes, you can add a bathroom to most unfinished basements. However, you’ll need to ensure your basement meets minimum ceiling height requirements (typically 7 feet per building codes), has adequate space for fixtures, and allows for proper plumbing and electrical installations. Check local building codes and consider hiring professionals to assess your basement’s feasibility before starting the project.
What’s the minimum ceiling height required for a basement bathroom?
Most building codes require a minimum ceiling height of 7 feet for basement bathrooms. This height ensures proper clearance for fixtures and comfortable use. Some areas may have different requirements, so check with your local building department. If your ceiling is lower, you may need to consider excavation or choose compact fixtures designed for lower spaces.
What type of flooring is best for basement bathrooms?
Waterproof vinyl and luxury vinyl plank are excellent choices due to their moisture resistance and aesthetic flexibility. Ceramic and porcelain tiles are also ideal for their impervious surfaces and design versatility. Epoxy and polished concrete offer modern, durable alternatives. Avoid traditional hardwood, carpet, or laminate as they can be damaged by basement moisture.
How do I prevent moisture problems in a basement bathroom?
Install a properly sized exhaust fan that can exchange bathroom air 8-10 times per hour. Use waterproof materials, apply protective wall coatings, and install vapor barriers. Maintain indoor humidity below 50% with dehumidification systems. Ensure proper ventilation ductwork and consider mold-resistant materials throughout the construction process.
What space-saving fixtures work best in small basement bathrooms?
Wall-hung toilets create the illusion of more space, while corner sinks maximize floor area. Walk-in showers with frameless glass panels make spaces appear larger than shower-tub combos. Wall-mounted vanities and integrated storage solutions maintain an airy atmosphere. Consider compact toilets and multi-functional furniture pieces to optimize your bathroom’s footprint.
How can I improve lighting in a windowless basement bathroom?
Install LED recessed lighting for efficient, clutter-free illumination throughout the space. Add targeted vanity lighting for grooming tasks. Use light-colored paint and strategically place mirrors to amplify brightness. If possible, install egress windows for natural light. Layer different lighting types to create a well-lit, welcoming environment that rivals upper-floor bathrooms.
Do I need a permit for a basement bathroom addition?
Most jurisdictions require permits for basement bathroom additions since they involve plumbing, electrical work, and structural modifications. Contact your local building department to understand specific requirements. Permits ensure work meets safety codes and may be required for insurance claims or home sales. Professional contractors typically handle permit applications as part of their services.
What’s the average cost to add a basement bathroom?
Basement bathroom costs vary widely based on size, fixtures, and complexity. Basic installations can start around $3,000-$5,000 for DIY projects, while professional full bathrooms range from $10,000-$25,000 or more. Factors affecting cost include plumbing complexity, electrical work, waterproofing needs, fixture quality, and local labor rates. Phased renovations can help manage expenses over time.
Can I install a basement bathroom myself?
Some aspects like framing, painting, and fixture installation can be DIY projects if you have the skills. However, plumbing and electrical work typically require professional installation to meet codes and ensure safety. Consider DIY for demolition, basic framing, and finishing work while hiring professionals for complex systems. Always check local regulations regarding DIY work and permits.
How do I deal with existing utilities when planning a basement bathroom?
Map existing utilities including plumbing, electrical, HVAC, and gas lines before planning your layout. Work around these systems by adjusting your bathroom design or relocating utilities if necessary. Consider creative storage solutions to hide exposed pipes or ducts. Coordinate with professionals early in planning to understand relocation costs and design implications for optimal bathroom placement.

