I’ve nailed this process down to five foolproof steps. First, identify your decal’s adhesive type—water-based or solvent. Then heat it with a hair dryer 1–2 inches away until it wrinkles slightly. Peel at a shallow 45-degree angle from a corner, reheating if needed. Use rubbing alcohol for stubborn residue, testing hidden spots first. Finally, fill any gouges with spackle, sand smooth, and repaint. Stick with these techniques, and your walls’ll look untouched—there’s plenty more nuance ahead.
Identify Your Decal Type and Adhesive Before Removal
Before you peel anything off your wall, you’ve got to do your detective work—and I mean really understand what you’re dealing with. I’ve learned that decal type matters enormously. Check if yours is water-based removable, water-based repositionable, or solvent-based permanent—each needs different removal precautions. Next, examine the adhesive closely. Does it require the heat method, moisture method, or solvents? Rigid vinyl with strong adhesive typically demands heat, while pliable vinyl often responds to soapy water. Look for transfer tape or backing, since these affect how your decal lifts. Don’t skip identifying your wall material either. Finally, check the printing method—whether it’s paper, vinyl, or fabric—because this influences which removal approach protects your paint best.
Soften the Adhesive With Heat: Hair Dryer vs. Heat Gun

Once you’ve pinpointed your decal and adhesive type, heat becomes your undercover edge. I start with a hair dryer set to highest heat, holding it 1–2 inches from the decal to soften adhesive without rushing. Watch for wrinkling—that’s your signal the adhesive’s pliability has peaked and peeling can begin safely.
A heat gun works too, but demands careful distance and slower application to avoid surface damage. I’ve learned that patience prevents regret; if residue remains after initial heating, I reapply heat in short cycles rather than forcing stubborn spots.
Here’s my honest take: start with the hair dryer on delicate surfaces, switching to a heat gun only if necessary. Monitor how your wall responds throughout decal removal. This measured approach keeps your walls pristine.
Peel Your Decal at a Low Angle to Protect the Paint

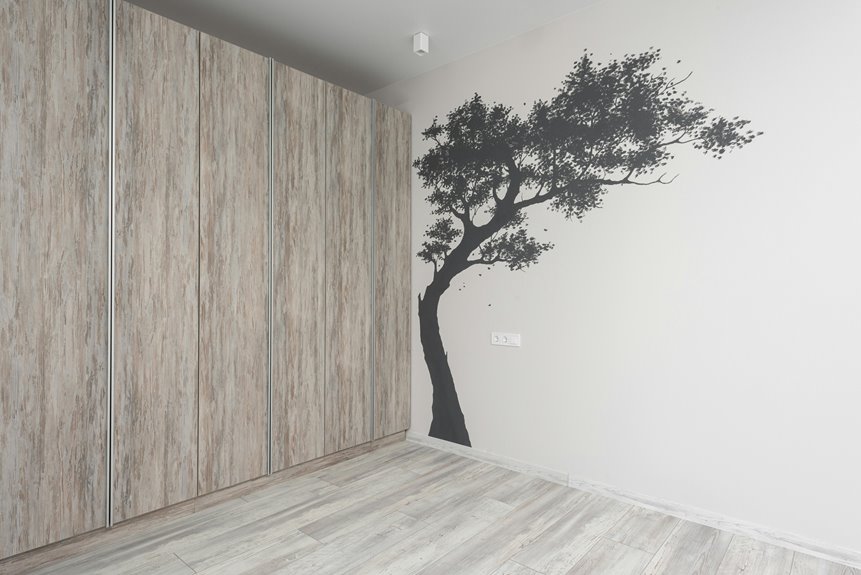
The angle you choose when lifting your decal makes all the difference between a clean removal and wall damage. I’ve learned that a shallow, low angle—around 45 degrees or less—is your secret weapon for successful decal removal. Here’s why: this position lets the warm heat work with your gentle lifting, allowing the adhesive release to happen gradually rather than suddenly.
Start at a corner, then progress slowly while maintaining that consistent low angle. If your decal resists, reapply heat and adjust slightly. A plastic scraper helps tremendously at the edge while you peel. This careful peeling technique protects paint by distributing pressure evenly. Your wall decals come off cleanly when you prioritize technique over speed. You’re protecting your walls while joining the ranks of successful DIYers.
Remove Sticky Residue: Soap First, Then Stronger Solvents

After you’ve peeled away your decal with that perfect low angle, you’ll likely face sticky residue clinging to your wall—and I’m thrilled to share the game-changing approach that’ll get it off without harming your paint.
Start simple. Warm soapy water and a soft cloth work magic on fresh adhesive. If soap alone doesn’t cut it, don’t panic—grab rubbing alcohol or an adhesive remover and apply it to the stubborn spots. Here’s my insider tip: always test your solvent on a hidden area first to ensure it won’t strip your paint’s finish.
Once you’ve loosened that residue, use a plastic scraper or old credit card to gently lift it away. Finally, wash everything with warm soapy water again and dry thoroughly. You’ve done it—welcome to the damage-free decal removal club!
Repair Wall Damage After Decal Removal
Sometimes your wall won’t come through decal removal completely unscathed—maybe you see a small gouge, peeled paint edges, or a rough patch where the adhesive grabbed too hard. Don’t worry; I’ve got you covered with simple fixes that’ll have your wall looking pristine again.
For minor damage, I apply a thin layer of joint compound or spackle directly into the gouge, let it dry completely, then sand it smooth. Next comes the primer—I use a light touch to test how the wall absorbs it, preventing paint bleed that’d ruin my seamless finish.
Finally, I repaint with matching color to blend everything together. Using plastic scrapers and gentle pressure throughout decal removal minimizes these repairs, but when they’re needed, this straightforward wall repair process delivers results that make me genuinely proud of my space.